20-Minute Homemade Bread Enjoy Freshly Baked Goodness
I just can’t help but feel excited every time I step into my kitchen and catch that delightful whiff of freshly baked bread—it reminds me of lazy weekend mornings and cheerful family gatherings. I woke up one day and thought, “Why not try making my own bread in just 20 minutes?” And here I am, sharing my very own twist on the 20-Minute Homemade Bread recipe that’s as friendly and simple as a note written on a rainy day. I really do enjoy the feeling of whipping up a soft, golden loaf when time is ticking by, and honestly, there’s nothing like replacing store-bought bread with something I baked myself, even if it sometimes comes out a little off-kilter.
Ingredients for 20-Minute Homemade Bread
I remember the first time I gathered all the ingredients; it was like a mini-adventure in my pantry, each item holding a tiny promise of deliciousness. Creating your own 20-Minute Homemade Bread is not only a breeze but also a really satisfying experience. Here’s what I need for my little kitchen escapade:
- Key Ingredients:
- 3 cups all-purpose flour
- 1 tablespoon baking powder
- 1 teaspoon salt
- 1 tablespoon sugar
- 1 cup water
- 1/4 cup olive oil
- Optional: herbs or garlic for flavoring
Every ingredient in my little list plays a special role, and I sometimes like to add a pinch of extra herbs or garlic to give the bread an extra twist. I remember adding rosemary one day and laughing because the aroma was so strong, like a mini herb garden had exploded in my oven.
Nutritional Information
I find it really helpful to know a bit about what’s in my food, and even though I’m not a nutrition expert, I try to keep track of some numbers. Here’s a quick peek at the nutritional bits and bobs:
- Servings: Makes approximately 8 slices.
- Prep Time: 5 minutes.
- Cooking Time: 15-20 minutes.
- Total Time: 20-25 minutes.
- Calories: Approximately 150 calories per slice.
I sometimes joke that each slice is like a little energy boost, perfectly balanced and just enough to keep me smiling through the day.
Step-by-Step Directions
Every time I make this bread, it feels like I’m on a mini baking show, following steps that sometimes surprise me with little twists. I’ll walk you through the process as if we’re in the kitchen together.
- Preheat the Oven
I start by switching on my oven to 425°F (220°C). It’s crucial for me to preheat, because I like the bread to bake evenly and get that charming golden-brown crust that makes it extra inviting. - Mix Dry Ingredients
In a big bowl, I combine 3 cups of all-purpose flour, 1 tablespoon of baking powder, 1 teaspoon of salt, and 1 tablespoon of sugar. I always mix these dry things real well, because I believe every grain of flavor should be shared evenly, like friends in a good story. - Add Wet Ingredients
Next, I make a little well right in the middle of the dry mix and pour in 1 cup of water and 1/4 cup of olive oil. The olive oil, to me, is like a magic touch that makes the dough feel rich and kind, even if I sometimes forget a tiny drop here and there. - Combine
I stir everything together until a soft dough forms. Sometimes, if my dough turns out too sticky (and it has happened before, believe me), I sprinkle in a bit more flour, one tablespoon at a time, until it feels just right. - Kneading
Then, I tip the dough onto a lightly floured counter and knead it for 1-2 minutes. I always try not to overdo it, because over-kneading can make the bread tough—just like when I overthink a simple joke and ruin its punchline. - Shape the Loaf
I shape my dough into a round loaf and place it gently on a parchment-lined baking sheet. Shaping the dough carefully is something I find both fun and a little therapeutic, like molding soft clay with your own two hands. - Optional Flavoring
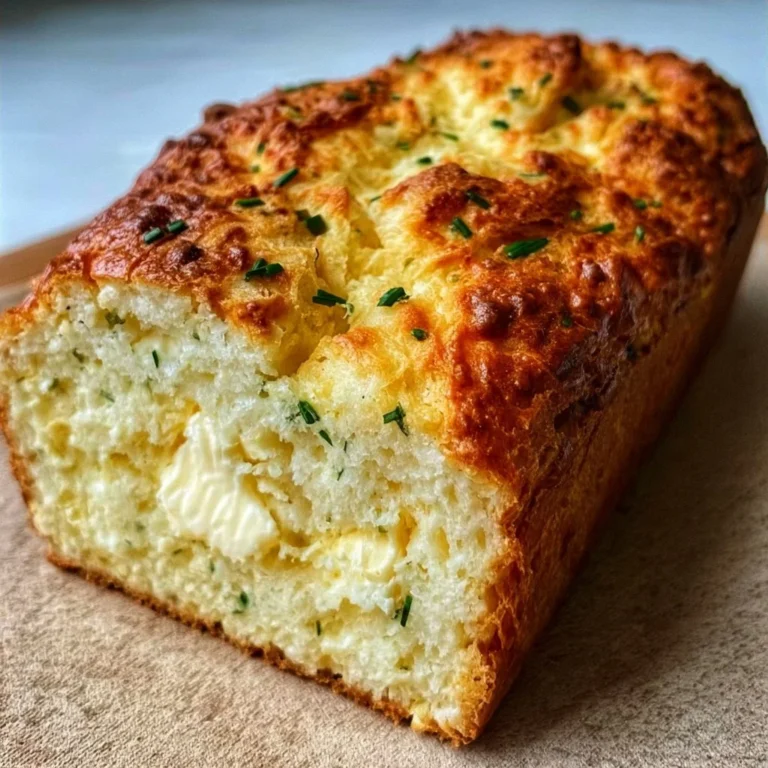
At this point, I sometimes decide to sprinkle a few herbs like rosemary or thyme, or even scatter some minced garlic on top. This little extra step makes my heart sing because it personalizes the bread just a bit more, reminding me of days spent in my grandma’s kitchen. - Bake
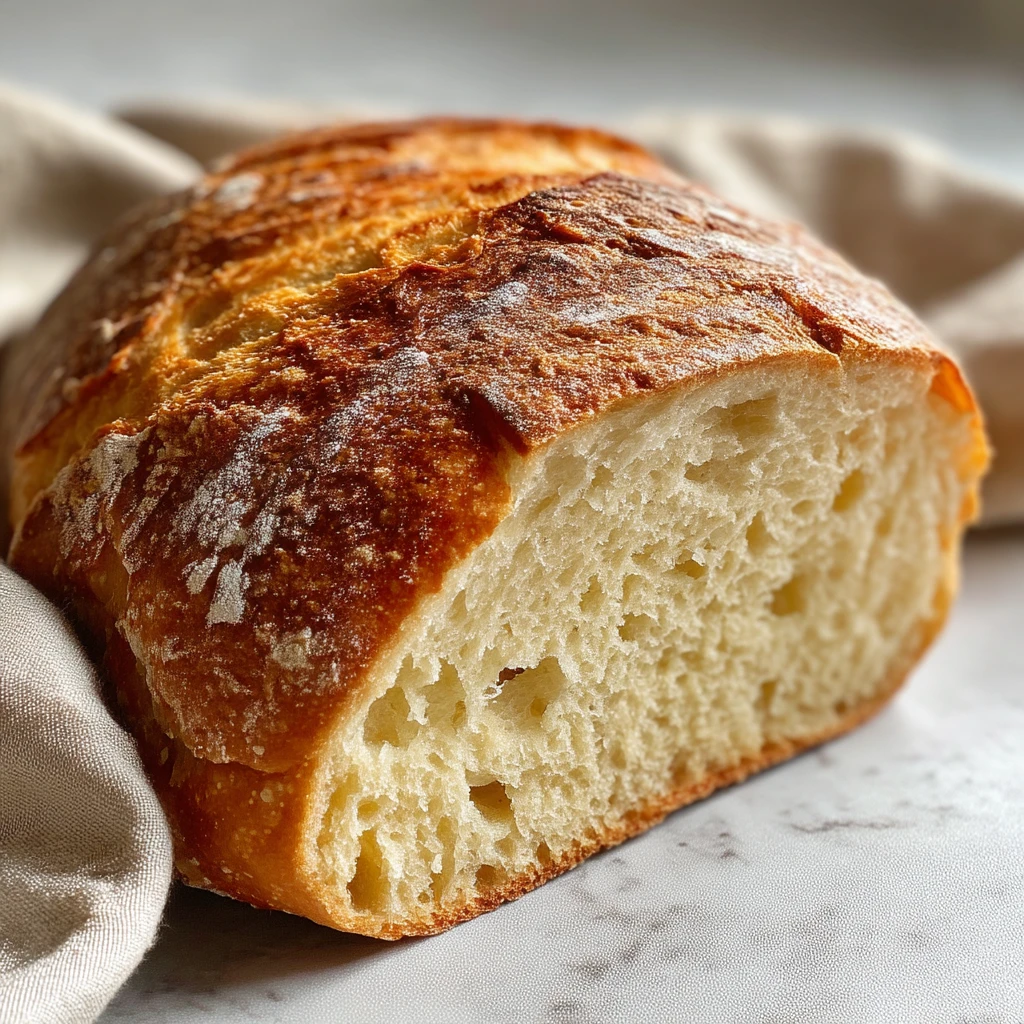
I slide the baking sheet into the preheated oven and let it bake for 15-20 minutes. I always keep an eye on it, and when it turns a lovely golden brown and sounds hollow if I tap the bottom, I know it’s ready—kind of like waiting for your favorite song to start on the radio. - Cool and Serve
Finally, I take the bread out and let it cool on a wire rack for a few minutes before slicing it. This moment is like a mini celebration in my kitchen; a little pause that makes the bread even more enjoyable to eat.
Following these steps, I feel like I’m crafting not just a loaf of bread but a little memory filled with warmth and unexpected giggles.
Why You’ll Love This 20-Minute Homemade Bread
I truly adore this recipe because it fits perfectly into my busy life, and every bite reminds me of the simple joys that cooking brings. There are so many reasons to love this 20-Minute Homemade Bread, and here’s my little list:
- Quick and Easy
I always find it a delight that this bread can be whipped up in no time. It’s perfect for those last-minute cravings or when I simply want something warm and comforting without a long wait. - Beginner-Friendly
When I first tried baking, I was a bit clumsy, but this recipe was forgiving enough that I didn’t feel too bad if it wasn’t picture-perfect. Its simplicity makes it a good friend for both new bakers like me and the more experienced ones. - Versatility
I love how this bread goes with nearly anything. Whether I use it for a sandwich, as a side with soup or salad, or simply toast it for breakfast, it never fails to bring a smile to my face. Its flexibility in pairing with meals is truly like a little culinary chameleon.
Every time I make it, I feel like I’m adding a personal touch to my day, and I often share a laugh with friends about how something so quick can taste so homemade.
Tips for Perfecting Your 20-Minute Homemade Bread
I’ve picked up a few little tricks along the way that I like to share as if they’re secret tips passed down through generations, even though they’re as simple as a friendly wink.
- Use Warm Water
I always use water that’s just warm enough to the touch. It helps activate the baking powder and makes the bread fluffier, almost like a little nudge from a caring friend. - Don’t Over-Knead
I try to knead just enough to bring the ingredients together. Overdoing it makes the dough too tough—something I learned the hard way when I once over-kneaded and ended up with a loaf that was like a brick. - Experiment with Flavors
I sometimes get a little adventurous and mix in extras like cheese, olives, or nuts. These little twists make my bread uniquely mine and often spark a funny conversation with my family about my “experimental” recipes. I’m always excited to try new combinations and see what delightful surprises emerge.
I always tell myself that these small tips are like little breadcrumbs of wisdom in my own kitchen diary, making each loaf better than the last.
FAQs About 20-Minute Homemade Bread
I know you might have some curious questions about making this bread, and I’ve tried to answer them with the same friendly, personal touch that I bring to my baking sessions. Here are some questions I often hear:
- Q: Can I use whole wheat flour?
- A: I’ve tried it with whole wheat flour and yes, you can! Just be prepared to adjust the water a bit, as whole wheat tends to drink up more liquid. It’s a little change that brings a new twist to the bread.
- Q: How do I store leftovers?
- A: When I have leftovers, I tuck them away in an airtight container at room temperature for a couple of days. If I need to keep it longer, I freeze the bread for up to a month, wrapping it tightly to avoid any freezer burn surprises.
- Q: Can I make this bread gluten-free?
- A: Definitely! I’ve seen others try gluten-free flour blends with this recipe, though you might need to play around with the liquid measurements. Gluten-free baking can be a bit tricky, but it’s fun to experiment with if you’re up for it.
- Q: What can I serve with this bread?
- A: Personally, I adore having it with hearty soups, fresh salads, or simply spreading some butter on it for breakfast toast. It’s so versatile that I often mix and match, enjoying a slice with a cup of tea or coffee.
These answers come from my own mishaps and happy accidents in the kitchen, and I hope they help you feel a bit more confident as you try your hand at baking.
Conclusion
I can’t stress enough how making your own 20-Minute Homemade Bread has changed my outlook on baking. It’s truly a game-changer for anyone who adores fresh bread but doesn’t have endless hours to spare. This recipe is like a friendly companion—it’s simple, speedy, and never fails to bring comfort to my table. Even on the busiest days, I find a moment of joy in knowing that a soft, delicious loaf is just a few steps away.
I encourage you to give this recipe a try and let it fill your day with the warmth of homemade goodness. My little adventures in baking have taught me that sometimes the simplest recipes bring the greatest joy, and I’d love to hear your stories and see your creative twists on it. So, gather your ingredients, enjoy the process, and treat yourself to the simple pleasure of freshly baked bread. Trust me, you won’t regret it!
Now, I invite you to join me in this delightful journey of quick baking. Grab your mixing bowl, your favorite spatula, and let’s make some magic in the kitchen together. Don’t be shy—share your baking tales, a little mishap here or a moment of triumph there, because every loaf has a story. Enjoy, laugh, and savor every bite of your very own 20-Minute Homemade Bread!
Related Recipes to Complement Your 20-Minute Homemade Bread
- Learn How to Make Honey Wheat Bread at Home
A wholesome homemade bread recipe ideal for everyday meals, using simple pantry ingredients. - Easy Banana Bread Mini Muffins Recipe
A sweet twist on classic bread baking, perfect for quick breakfasts or snacks. - Sourdough Cinnamon Rolls Recipe
A cozy, cinnamon-kissed treat that builds on homemade dough techniques.
Did You Like This Recipe?
There are no reviews yet. Be the first one to write one.
20-Minute Homemade Bread Recipe Card
Course: BreakfastCuisine: AmericanDifficulty: Easy8
servings5
minutes20
minutes150
kcalIngredients
3 cups all-purpose flour
1 tablespoon baking powder
1 teaspoon salt
1 tablespoon sugar
1 cup water
1/4 cup olive oil
Optional: herbs or garlic for flavoring
Directions
- Preheat Oven: Set oven to 425°F (220°C). Helps the bread bake evenly with a golden crust.
- Mix Dry Ingredients: In a large bowl, combine 3 cups flour, 1 tbsp baking powder, 1 tsp salt, and 1 tbsp sugar. Mix well.
- Add Wet Ingredients: Make a well in the center. Pour in 1 cup water and 1/4 cup olive oil.
- Combine: Stir until a soft dough forms. Add flour 1 tbsp at a time if too sticky.
- Knead Dough: Knead on floured surface for 1–2 minutes. Don’t overdo it.
- Shape the Loaf: Form dough into a round loaf. Place on parchment-lined baking sheet.
- Optional Flavoring: Sprinkle herbs like rosemary, thyme, or minced garlic on top if desired.
- Bake: Bake for 15–20 minutes until golden brown and sounds hollow when tapped.
- Cool and Serve: Let cool on a wire rack before slicing. Enjoy the moment!