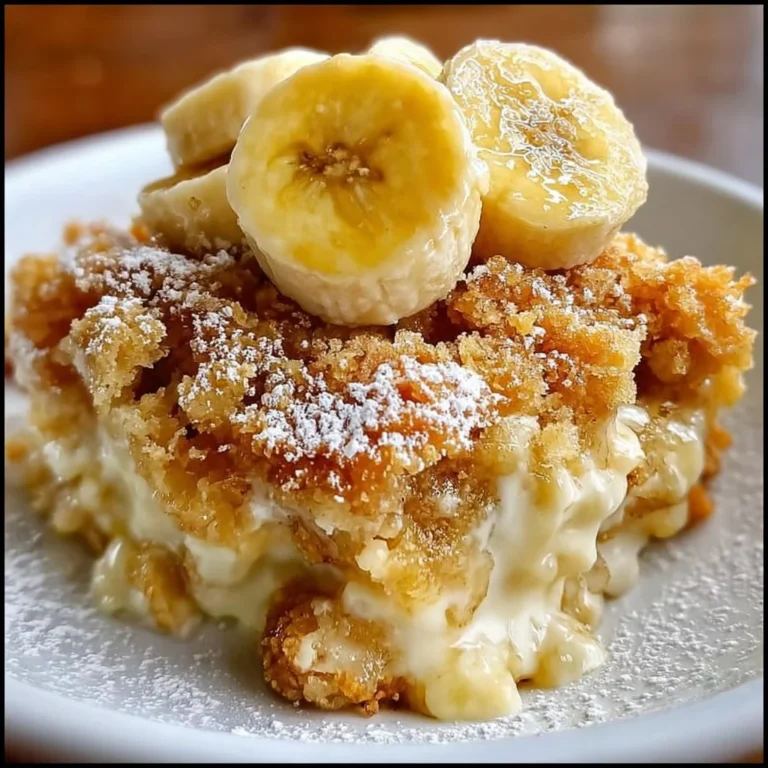
Irresistible Red Velvet Cookies with Oreo for Party-Ready Treats

While we have provided a jump to recipe button, please note that if you scroll straight to the recipe card, you may miss helpful details about ingredients, step-by-step tips, answers to common questions and a lot more informations that can help your recipe turn out even better.
My most unhinged belief—besides “there is no such thing as too much vanilla”—is that red velvet belongs anywhere, everywhere, and especially smashed together with Oreos in cookie form. These Red Velvet Oreo Cookies are dramatic, slightly extra, and honestly the only acceptable answer when someone asks, “What can I bring?” to any gathering.
They’re soft, chewy, a little crunchy from the cookie bits, and they look like they showed up to the holiday cookie platter in a floor-length velvet gown while everyone else wore jeans. Which is the energy I want from dessert, always.
And yes, they come together faster than my family finishes a tray of anything labeled “limited edition” at the dessert table. If you’ve tried my beloved chewy chocolate chip cookie base, this is like its dramatic redheaded cousin who went to art school and listens to vinyl.
The red velvet cookies that saved my holiday ego
A few years back, I had a Thanksgiving dessert meltdown. Not the cute kind where you’re like “oh no, my pie cracked but I’m still glowing.” No. My pumpkin pie literally sloshed. Like a soup. In the oven.
I pulled it out, saw the center shimmy like a Jell-O commercial, and my Midwestern brain short-circuited. I’d promised dessert. My aunt had made “her famous” cheesecake. The pressure. The shame. The group chat receipts.
In a panic, I abandoned the pie, cranked up the oven, and started wildly throwing together a red velvet cookie dough because at least I knew cookies. Then I spotted a half-eaten package of Oreos on the counter (thanks, cousins) and thought, “You. In. Now.” Crushed them with the ferocity of my dashed pie dreams, folded them into the dough, and baked off a tray.
People lost their minds. The pie? Barely touched. My uncle actually wrapped cookies in napkins “for the road.” That was the night these Red Velvet Oreo Cookies became a thing in my family, and the night my holiday dessert status rose from “we’ll see” to “please bring those red ones again.”
So what are these cookies and why are they flirting with you?
Imagine a plush, cocoa-kissed red velvet cookie that’s soft in the middle, barely crisp on the edge, studded with melty chocolate chips and big, unapologetic chunks of Oreo. They’re like if a bakery cookie and a grocery store snack aisle had a rebellious child.
They bake up thick, they hold their shape, they freeze beautifully, and they make people say things like, “Wait… who made these?” in that suspicious tone that’s really just admiration cosplaying as skepticism.
Also, they’re wildly forgiving. Overmix a little? Still good. Crush the Oreos too much? Still good. Eat half the dough before baking? Ill-advised but… still good. And if you’re already a fan of over-the-top bakes like my triple chocolate celebration brownies, these cookies are going to feel spiritually familiar.
Your dramatic ingredient roll call
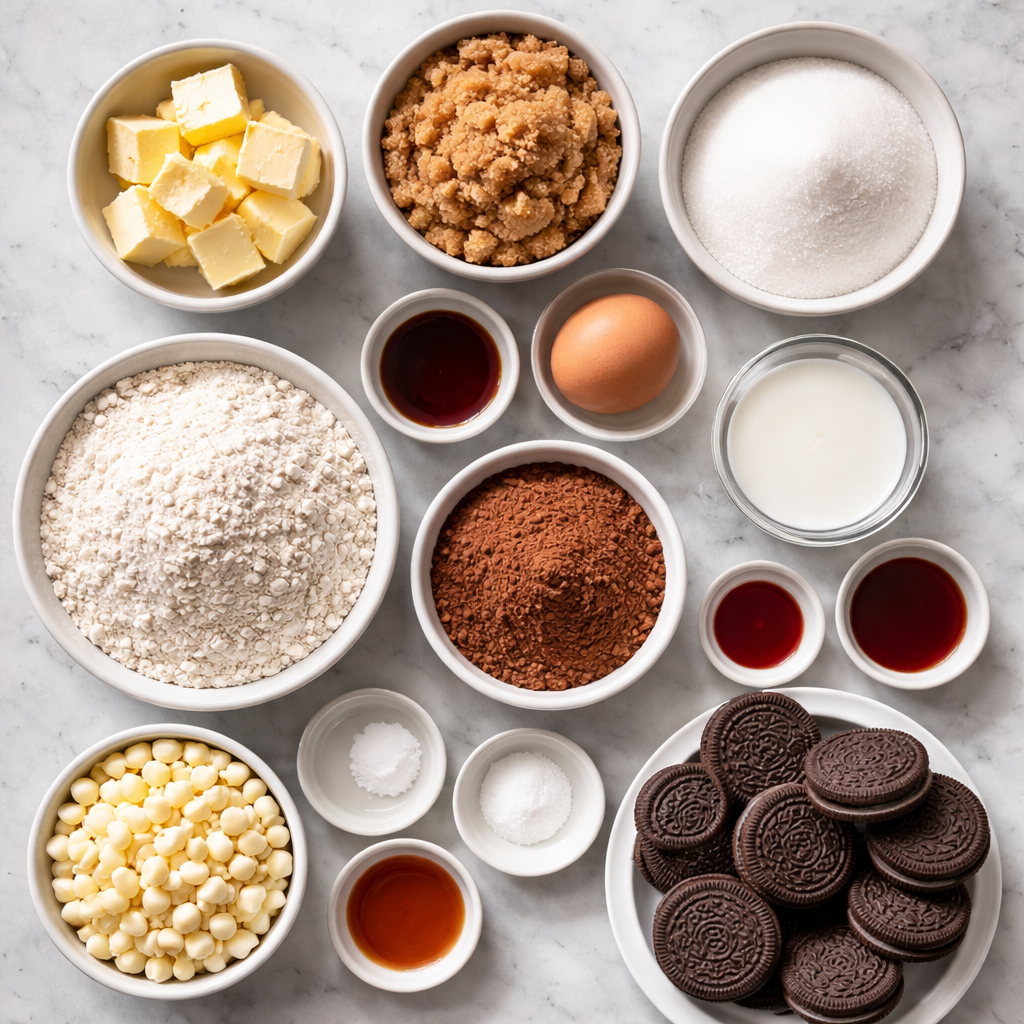
- 1 cup unsalted butter, softened
- 1 cup brown sugar
- 1/2 cup granulated sugar
- 1 large egg
- 1 tablespoon vanilla extract
- 2 cups all-purpose flour
- 1/2 cup cocoa powder
- 1 teaspoon baking soda
- 1/2 teaspoon salt
- 1 tablespoon red food coloring
- 1 cup crushed Oreo cookies
- 1 cup chocolate chips
Use the real butter. I’m begging. This is not the time for “light” spread that tastes faintly of sadness. Brown sugar gives the cookies that chewy, caramel-y center, so don’t skimp. You can absolutely grab store-brand Oreos—Aldi’s version works, Trader Joe’s has a fun knockoff, whatever—just make sure they’re chocolate sandwich cookies with cream.
Crush the cookies with a rolling pin in a zip-top bag or just… your hands. Therapy, but crunchy.
Cooking Unit Converter:
If you’re hopping between cups, grams, and “just vibes,” this handy tool keeps your measuring from going totally off the rails.
Step-by-step cookie magic (with my mistakes baked in)
Preheat the oven to 350°F (175°C).
Line a baking sheet with parchment paper. Do not be the hero who skips parchment. That hero scrapes stuck cookies at midnight.Cream the butter and sugars.
In a large bowl, beat 1 cup softened butter, 1 cup brown sugar, and 1/2 cup granulated sugar until light and fluffy. This should take a few minutes; it should look pale and a little whipped, not like a sad sand mixture. If your arm doesn’t feel slightly betrayed, keep going.Add egg and vanilla.
Beat in 1 large egg and 1 tablespoon vanilla extract until smooth. It might look a bit glossy and thick—perfect. This is your cookie glue.Mix the dry ingredients.
In a separate bowl, whisk together:- 2 cups all-purpose flour
- 1/2 cup cocoa powder
- 1 teaspoon baking soda
- 1/2 teaspoon salt
Whisk like you’re trying to erase lumps and bad decisions. Cocoa loves to clump, so break it up.
Combine wet and dry—gently.
Gradually add the dry ingredients to the butter mixture, mixing on low until just combined. When you stop seeing streaks of flour, walk away. Overmixing = tough cookies and emotional regret.Add the drama: color + mix-ins.
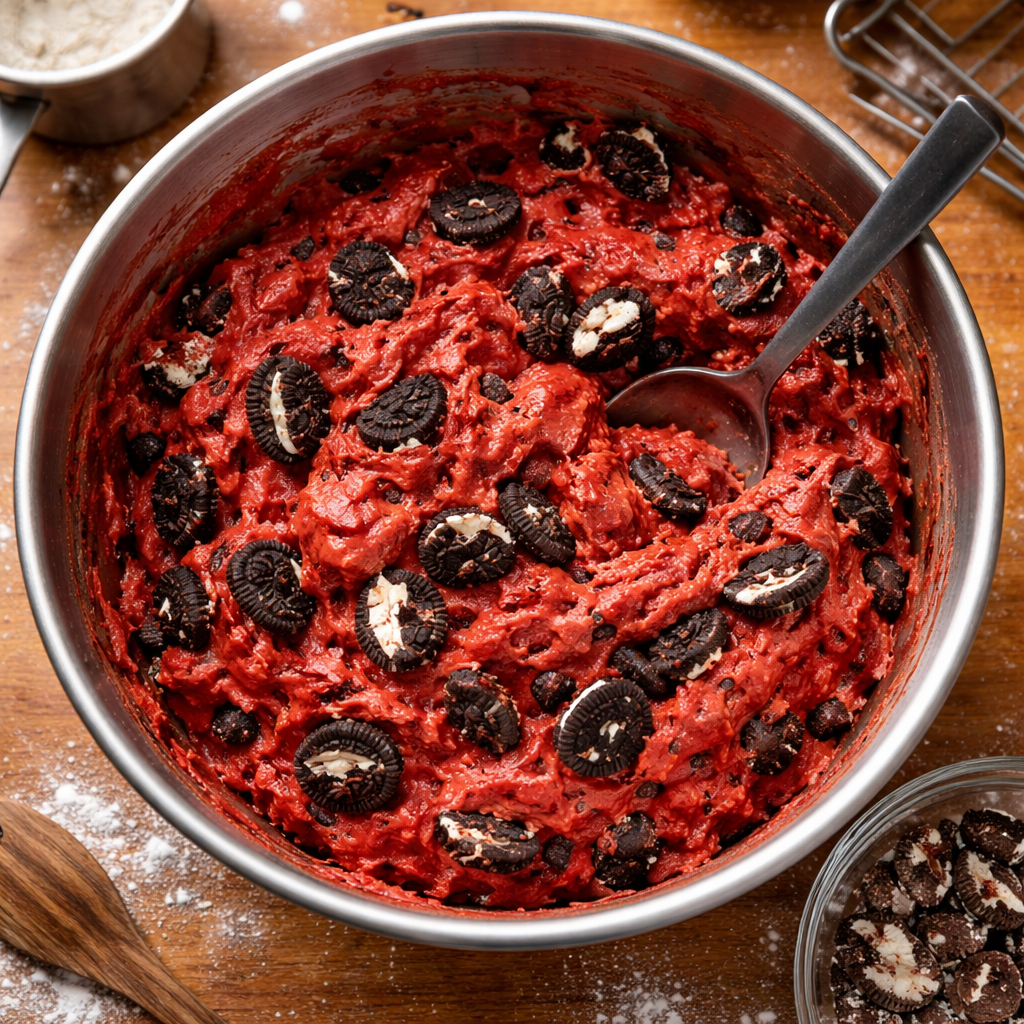
Stir in 1 tablespoon red food coloring until the dough is evenly red. Then fold in:- 1 cup crushed Oreo cookies
- 1 cup chocolate chips
I like leaving some Oreo chunks bigger so you hit pockets of crunch. If it looks like too many mix-ins, it’s probably right.
Scoop it out.
Drop tablespoon-sized portions of dough onto your prepared baking sheet, leaving space for them to spread. If you want bakery-style thick cookies, use a slightly heaped scoop and gently press a few extra chocolate chips or Oreo bits on top.Bake. But don’t overbake.
Bake for 10–12 minutes, or until the edges are set and the centers look just slightly soft and puffy. If they look fully done in the oven, they’ll be overdone once cooled. They’ll firm up as they sit—trust the process, not your panic.Cool… at least a little.
Let the cookies cool on the baking sheet for a few minutes, then transfer to a wire rack to cool completely. Or mostly. If one breaks “accidentally” while moving, you are federally required to eat it.
Why I keep baking, even when pies slosh
There’s something about baking that feels like building a tiny, edible home base. I grew up in a house where the oven was basically background noise—always on, always warming something, always trailing a smell down the hallway. Cookies meant people were coming over. Or someone was sad. Or it was Sunday. Or it was just Tuesday and the butter needed a purpose.
Making recipes like this keeps me tethered to that feeling: that you can turn a stick of butter, a cup of sugar, and some pantry randomness into a plate of “I’m glad you’re here.” These cookies are now non-negotiable at my family’s post-Thanksgiving movie night, right next to the leftover stuffing and whatever new experiment I’ve dragged in from my ongoing list of “things I swear are worth trying,” like those overstuffed cookie bar hybrids.
The time my neighbor judged me (and then ate six)
Last winter, I brought a plate of these to my neighbor’s game night. She looked at them and said, “Oh, red velvet, that’s… intense.”
Fast forward 40 minutes: she’s posted up by the dessert table, casually “breaking one in half to share” and then somehow “accidentally” eating both halves. By the end of the night she’d wrapped three in foil “for breakfast.” The next day she texted: “I’m still thinking about those red cookies. Is that normal?”
Yes. Yes it is.
Frequently Asked Questions:
Nope, you can skip it, but then you basically just have Oreo chocolate cookies, which is still delicious but a little less dramatic—like showing up to a fancy party in a nice sweater instead of a red velvet blazer.
Yes, and honestly they get even better; just cover the bowl, refrigerate up to 24 hours, and let the dough sit at room temp for about 15 minutes before scooping so you don’t bend a spoon and your will to live.
You can, but know that swapping in, say, chocolate chip cookies will give you a softer, less crunchy mix-in—still good, just a different texture; anything with a cream center like sandwich cookies works beautifully.
Usually it’s one of three villains: butter too warm (practically melted), not enough flour, or baking soda that’s older than your favorite hoodie; try chilling the dough 20 minutes before baking next time and make sure your measurements are leveled, not “vibes only.”
Absolutely—freeze the baked cookies in an airtight container for up to 2 months, or freeze scoops of dough and bake from frozen, adding 1–2 minutes to the bake time, which is basically the weeknight hero move of my dreams.
Here’s the part where I’m supposed to wrap this up gracefully, but honestly I’m just going to say this: make the cookies. Stain your fingers a little red. Sprinkle Oreo crumbs everywhere. Watch them disappear faster than the “healthy salad” someone brought out of obligation.
And if your pie sloshes, your cake caves, or your timing goes off and you pull these out while people are still clearing dinner plates—no one will be mad. They’ll just be quietly plotting how many they can take home without looking rude.
Daily Calorie Needs Calculator:
Use this quick calculator to estimate your daily calorie needs so you can decide how many cookies fit into your personal snack math.

Red Velvet Oreo Cookies
Ingredients
Method
- Preheat the oven to 350°F (175°C) and line a baking sheet with parchment paper.
- In a large bowl, cream together the butter, brown sugar, and granulated sugar until light and fluffy.
- Beat in the egg and vanilla extract until smooth.
- In a separate bowl, whisk together the flour, cocoa powder, baking soda, and salt.
- Gradually add the dry ingredients to the butter mixture, mixing on low until just combined.
- Stir in the red food coloring, crushed Oreo cookies, and chocolate chips.
- Drop tablespoon-sized portions of dough onto the baking sheet, leaving space for spreading.
- Bake for 10–12 minutes, until the edges are set and the centers look slightly soft.
- Allow the cookies to cool on the sheet for a few minutes before transferring to a wire rack.