Vietnamese Honeycomb Cake Recipe: Easy, Chewy, and Irresistible Treat

While we have provided a jump to recipe button, please note that if you scroll straight to the recipe card, you may miss helpful details about ingredients, step-by-step tips, answers to common questions and a lot more informations that can help your recipe turn out even better.
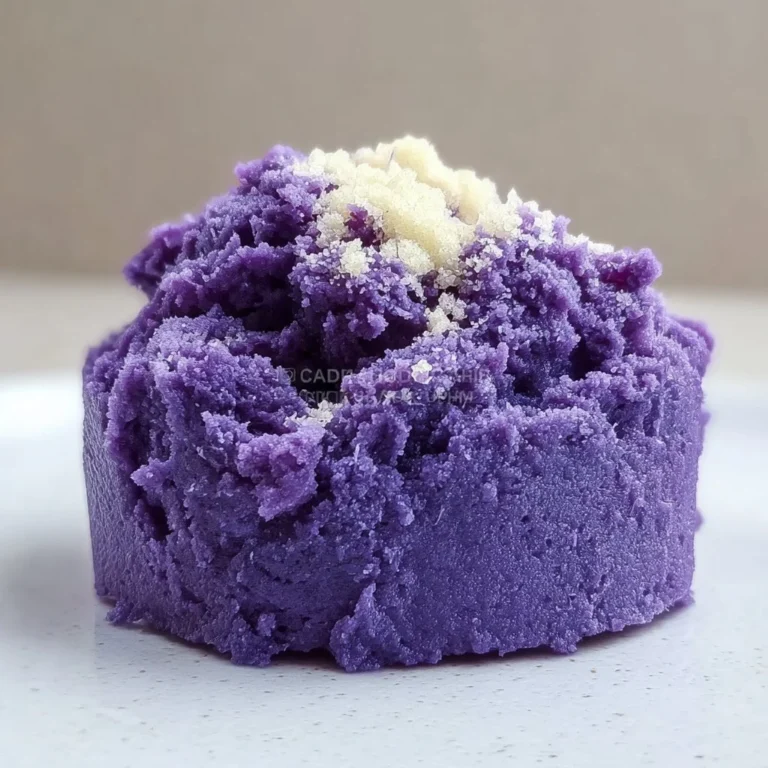
My strongest conviction in this chaotic little universe — besides “don’t buy frosting in a can” — is that Vietnamese honeycomb cake deserves its own fan club, theme song, and possibly a national holiday. This thing is chewy, bouncy, whisper‑sweet, pandan‑perfumed magic that looks like it was engineered in a pastry lab and yet… you can actually make it in your very real, very mortal kitchen. Today. In sweatpants. With dishes still in the sink.
And if you’ve ever stared at those perfect neon-green slices in a bakery case and thought, “No way I pull that off,” allow me to present: proof that we, the emotionally unstable home bakers of the world, are absolutely capable of greatness.
That time Vietnamese Honeycomb Cake stole the dessert table spotlight
Years ago, at a chaotic Thanksgiving where someone decided we needed five pies “for variety,” I showed up with a dessert I’d never tested. Bold move, zero brains. I had tried to make a fancy custard tart, and when we cut into it, the middle was… soup. Like, actual dessert soup. My cousin politely spooned it into a bowl and said, “It’s like crème brûlée… but wetter?” I wanted to vanish into the stuffing.
Fast forward to the first time I tried Vietnamese honeycomb cake. I had seen it online, all those perfect little tunnels running through the crumb like a beehive in cake form. I was cocky. I skimmed the instructions (never skim the instructions), ignored the warnings about overmixing, and baked it in the wrong pan. The outside looked okay. The inside? Solid, gummy brick. No honeycomb. Just… sad green log.
My family still ate it (Midwestern politeness is undefeated), but my sister did that thing where she chews really slowly, nods, and says, “Mmm, interesting texture,” which we all know is code for “I love you, but absolutely not.”
The dramatic pivot: from cake crimes to cake glory
So I went back. I read. I tested. I annoyingly hovered in front of the oven window like it was prestige TV. And somewhere between batch three and “why is there tapioca starch in my hair,” it clicked.
This cake is not hard, it’s just… particular. It has rules. It wants gentle mixing, the right baking powder, and a preheated pan like it’s walking the red carpet. But once you understand its quirks, it becomes that reliable show‑off dessert you can drag to potlucks, Lunar New Year parties, or your neighbor’s random Tuesday hang where everyone brings something from Trader Joe’s and you show up with this instead and absolutely steal the show.
If you need a confidence boost dessert — the kind that makes people gasp and say, “Wait, you made that?” — this honeycomb cake is your moment.
What you actually need (and what you absolutely don’t)
Here’s the ingredient lineup for Vietnamese Honeycomb Cake (Bánh Bò Nướng):
- 14 ounces Coconut Milk (Use full-fat for richness.)
- 10 pieces Pandan Leaves (Can substitute with 1 teaspoon of pandan extract.)
- 5 large Eggs (Using large eggs yields the best results.)
- 1.33 cups Granulated Sugar (Adjust to taste.)
- 0.5 teaspoon Pandan Extract (Double if using extract instead of leaves.)
- 1 teaspoon Vanilla Extract (Adds depth to flavor.)
- 1 cup Tapioca Starch (Critical for signature texture.)
- 16 grams Single Acting Baking Powder (Approximately from one packet.)
- 1 pinch Salt (Balances sweetness.)
Couple of strong opinions:
– Do not use light coconut milk. That’s like bringing decaf to a Monday morning meeting. Just no.
– Tapioca starch is non‑negotiable. Cornstarch will not save you. All‑purpose flour? Absolutely not. The bouncy texture depends on tapioca.
– If you can’t find pandan leaves, use extract, but go for a good one — it makes a massive difference in flavor. Think more fragrant dessert, less “air freshener.”
And you know how Trader Joe’s is half amazing, half “why is there cauliflower in everything now”? This is one of those times I’d actually hit an Asian grocery store or order pandan online instead of trying to improvise with a random “tropical flavor” syrup from the coffee aisle. While you’re at it, grab tapioca starch and maybe peek at something fun like these prettily packaged pandan treats for inspiration.

Cooking Unit Converter for stress-free measuring
If your brain short-circuits when converting ounces to cups (same), this handy tool will keep your measurements accurate so the honeycomb actually appears.
How to pull off that perfect honeycomb texture
Step-by-Step Instructions for Vietnamese Honeycomb Cake

Prep the pan like it owes you money.
- Preheat your oven to 340°F (170°C). Place your cake pan (8–9 inch round, preferably aluminum) in the oven while it heats. A hot pan helps create those gorgeous tunnels.
- Lightly grease the pan with neutral oil; no parchment on the bottom or it can mess with the structure. I learned this the hard way when my cake developed a weird flat underbelly.
Infuse the coconut milk with pandan.
- If using pandan leaves: tie them into knots, add them to a small pot with the coconut milk and warm gently over low heat until fragrant, not boiling. Remove from heat, discard leaves, and let cool until just warm.
- If using only extract: skip the simmering, just make sure the coconut milk is at room temp before you start.
Mix the wet ingredients — but gently.
- In a large bowl, whisk the eggs lightly. Not aggressively; you’re not making omelets. You want them combined without too much foam.
- Add sugar, salt, pandan extract, vanilla, and the cooled coconut milk. Whisk until the sugar mostly dissolves. If you whisk like a maniac, you’ll get bubbles and bubbles = weird, uneven texture. Ask me about the tragic bubble crater cake of 2022.
Sift in the dry ingredients.
- In a separate bowl, combine tapioca starch and single acting baking powder. Sift this into the egg mixture in two batches.
- Use a whisk or spatula to stir gently until you just don’t see dry spots. Don’t overmix. Overmixing is how you kill the honeycomb. Respect the starch.
Strain for smoothness.
- Pour the batter through a fine-mesh sieve into a large measuring cup or bowl with a spout. This catches lumps and random egg bits and makes your cake look bakery-level polished.
- Let the batter rest for about 10 minutes; tiny bubbles will rise and pop.
Pan + batter = SPEED.
- Carefully pull the hot pan from the oven. Swirl in a thin layer of oil if needed and pour out any excess.
- Pour in the batter in one steady go. No dribbling, no pausing. Fast, confident pour — this keeps the structure even.
Bake and watch the magic.
- Bake at 340°F (170°C) for about 35–45 minutes, depending on your oven.
- Don’t open the oven for at least 25 minutes. If you do, the cake may deflate and your soul will leave your body for a minute.
- You’ll know it’s done when the top is golden, the center springs back lightly when pressed, and a skewer comes out mostly clean (a tiny bit moist is okay, just no wet batter).
Cool and slice like a pro.
- Let the cake cool in the pan for 10–15 minutes, then run a thin knife around the edges and flip it out onto a rack.
- Once fully cooled, slice with a sharp, oiled knife. When you see those glassy, stretchy tunnels? That’s your victory moment.
If you want to go full dessert nerd, serve slices next to something contrasting — maybe a light tea or fruit — or pair with something like these subtly sweet Asian-inspired snacks for a fun dessert board.
Why this silly green cake hits me in the feelings
I grew up in a very “Midwest potluck” world: bars, brownies, the occasional ambitious cheesecake. The first time I brought a Vietnamese dessert to a family get-together, it felt weirdly vulnerable — like I was putting a piece of my evolving identity right next to Aunt Linda’s pumpkin pie.
Making this cake now is my tiny ritual of belonging: borrowing traditions that weren’t mine growing up, learning from friends, YouTube aunties, and internet strangers, and folding all of that into my kitchen. It reminds me that food doesn’t have to match what your grandma did for it to be meaningful. You can build new traditions out of tapioca starch and coconut milk and pure stubbornness.
Micro-chaos from the test kitchen
During one test batch, I forgot I’d already added baking powder and tossed in more. Friends, that cake tried to crawl out of the pan. It baked up like a weird, overinflated green mushroom, then collapsed dramatically in the center like my willpower near a charcuterie board.
We still ate it. With ice cream. And someone said, “You should write this down as a new dessert,” which is exactly the kind of supportive lie I cherish.
Frequently Asked Questions: ask the chaotic baker
Two usual culprits: overmixing the batter or using the wrong baking powder. You want single acting baking powder and very gentle mixing; if you treat it like brownie batter, it will absolutely punish you with a gummy brick.
You can, but it becomes more of a plain coconut honeycomb cake. Still tasty, just less “wow, what is that aroma?” If you skip pandan, maybe bump the vanilla a tiny bit for extra personality.
A little, yes. You can drop it by about 15–20% and still get a solid texture. Go too low and the structure and moisture start to suffer, and you’ll be staring at another “interesting texture” situation.
If you want those fine, even tunnels, yes. A hot pan helps kickstart the rise and create the honeycomb. Skip it, and you’re in “why is only the top spongy?” territory.
Once cooled, wrap it well and keep it at room temperature for a day or two, or in the fridge up to about 4 days. Rewarm slices gently in the microwave for 10–15 seconds to bring back the bounce. If you manage to keep it that long, you have more self-control than I do.
Look, I know this was a lot of feelings and instructions about one cake, but if you’ve ever wanted to make something that looks bakery-fancy without needing a culinary degree, this is it. You whisk, you pour, you wait, you slice, and suddenly you’re the person who brings the “famous green cake” to every gathering.
So preheat the oven, grab your tapioca starch, maybe light a candle for all our past dessert disasters, and make this Vietnamese honeycomb cake today. I’ll be over here, pretending I’m not about to eat a third slice while browsing more dangerously inspiring things like these pandan-themed goodies and telling myself it’s “research.”
Daily Calorie Needs Calculator: keep dessert in delicious perspective
Use this quick calculator to estimate your daily calorie needs so you can enjoy your honeycomb cake with a side of informed balance, not guilt.

Vietnamese Honeycomb Cake
Ingredients
Method
- Preheat your oven to 340°F (170°C). Place your cake pan (8–9 inch round, preferably aluminum) in the oven while it heats.
- Lightly grease the pan with neutral oil; no parchment on the bottom or it can mess with the structure.
- If using pandan leaves: tie them into knots, add them to a small pot with the coconut milk and warm gently over low heat until fragrant, not boiling. Remove from heat, discard leaves, and let cool until just warm. If using only extract, skip the simmering.
- In a large bowl, whisk the eggs lightly. Add sugar, salt, pandan extract, vanilla, and the cooled coconut milk. Whisk until the sugar mostly dissolves.
- In a separate bowl, combine tapioca starch and single acting baking powder. Sift this into the egg mixture in two batches. Stir gently until you just don’t see dry spots.
- Pour the batter through a fine-mesh sieve into a large measuring cup or bowl with a spout. Let the batter rest for about 10 minutes.
- Carefully pull the hot pan from the oven and pour in the batter in one steady go.
- Bake at 340°F (170°C) for about 35–45 minutes, depending on your oven.
- Let the cake cool in the pan for 10–15 minutes, then run a thin knife around the edges and flip it out onto a rack. Once fully cooled, slice with a sharp, oiled knife.