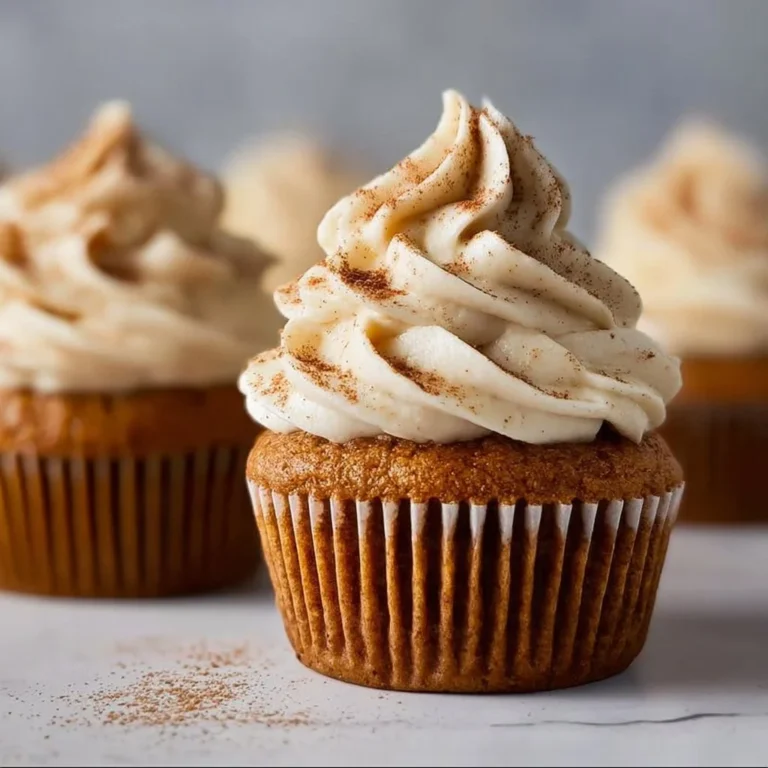
Maple Donut Bars
While we have provided a jump to recipe button, please note that if you scroll straight to the recipe card, you may miss helpful details about ingredients, step-by-step tips, answers to common questions and a lot more informations that can help your recipe turn out even better.
My strongest belief in the universe—is that taste buds should waltz over a saucer of Maple Donut Bars while our hearts hum in harmony. Seriously, why isn’t this the official snack of cozy evenings by a fire, or even better, Thanksgivings spent ~strategically dodging~ family chats about your "life choices"? Oh wait—maybe because I just invented that award! But if any sweet treat deserves a standing ovation, it’s this showstopper right here.
Recalling My Epic Cooking Flop: Let’s Talk About That Time I Burned the Turkey
Listen, we all have our kitchen misadventures, but let me take you back to the Thanksgiving of Awkward Silence—a year I’d rather forget (but let’s be real, I can’t). Picture it: my first crack at the turkey, totally pumped for my big moment like I was about to debut on Broadway. I had the timer set, the whole shebang planned out—until I got distracted by my Aunt Mildred showing up with her very famous (and very controversial) sweet potato casserole, complete with those marshmallows that stubbornly insist on being flamboyant.
Fast forward an hour later—cue me pulling a turduckhen of sadness out of the oven—charcoal brown skin and smoke billowing like I set a house on fire (which, for a moment there, I thought I might have!). Uncle Bob just nodding solemnly in the corner like a movie critic after saying, "That turkey really knows how to burn!" Let’s just say, those Maple Donut Bars I’ll share are way less risky than deep-frying desperation!
Back to the Doughy Goodness: Why Maple Donut Bars Speak to My Soul
ANYWAY, before I emotionally relive the enchantingly disastrous event, we’re pivoting right back to these shinier, non-charred delights. These Maple Donut Bars are not just a treat; they’re a reminder of all that is right in the world. I mean, really, could they be any more perfect? Soft, slightly chewy, kissed by maple syrup and draped with a glaze that makes me wish I could swim in it. No need for an over-cooked turkey here, just pure bliss in every bite—trust me, you’ll want to keep this recipe on speed dial just like you do for your fave pizza joint.
Let’s Gather What You Need to Get Cozy Kitchen Vibes Going:
Alright, I know you’re ready to dive into the actual cooking part, so let’s make this as smooth as possible like the icing we’ll secretly want to eat by the spoonful. Below are the ingredients you’ll want rounded up.
- 2 cups all-purpose flour
- 1 cup granulated sugar
- 1/2 cup brown sugar
- 1 tablespoon baking powder
- 1/2 teaspoon salt
- 1 teaspoon ground cinnamon
- 1/2 teaspoon ground nutmeg (Seriously, don’t skip this! It’s the magic dust.)
- 1/2 cup unsalted butter, melted
- 1 cup milk
- 1/2 cup maple syrup
- 2 large eggs
- 1 teaspoon vanilla extract
- 1 cup powdered sugar
- 2-3 tablespoons milk (for icing)
Now hear me out—those ingredients? They’re perfect just as they are from Trader Joe’s (or your local grocery store, I’m not judging). But splurge on the maple syrup. For the love of all things sweet, please don’t try to cut costs here. That imitation stuff? No thanks.
Cooking Unit Converter:
Need a quick way to convert your measurements? Look no further.
Let’s Dive into the Technique and Get a Little Chaotic:
Right, so here’s the scoop (pun intended!)—we’re not listing this like some sterile magazine recipe. This is where the magic (and the occasional chaos) happens.
- Preheat that oven—350°F (175°C) is where the warmth of your heart meets baking bliss, my friends. Don’t forget to grease that 9×13 inch pan like you mean it!
- Grab a large bowl and let’s mix: flour, granulated sugar, brown sugar (you get it), baking powder, salt, cinnamon, and nutmeg. It should look like a glorious powdery snowstorm.
- In another bowl, whisk together your melted butter, milk, maple syrup, eggs, and thank-the-lord-for-vanilla extract until they’re a harmonious blend of yumminess.
- Pour those wet ingredients into your dry ones—now it’s getting real! Stir until just combined. Don’t overmix—think gentle; we’re all about kindness here.
- Pour that beauty into your prepared pan and spread it like you’re icing some emotional trauma with forgiveness.
- Let it bake for 25-30 minutes. I know it’s hard, but hang tight—no peeking! Just breathe in that delightful aroma when it starts wafting through your home.
- After it’s done, let it cool for 10 minutes (or do a little jig in the kitchen, I won’t judge) and then transfer it to a wire rack to cool completely.
- Whip up the icing by mixing the powdered sugar and milk—smooth and shiny, just like a good side-eye!
- Drizzle it over those cooled bars, cut into squares, and voilà! You’ve just whipped up a snack worthy of standing ovations.
The Heart of it All: Why Cooking Means So Much
Okay, let me get real for a moment—cooking isn’t just about recipes or Instagram-worthy photos (though, like, those are nice too). You see, for me, every dish evokes stories and memories of family gatherings, laughter, and sometimes a few tears (the good kind!). It’s about wielding a spatula and pouring our souls into each bite. It’s the tradition of sharing meals with loved ones that send ripples of joy far beyond the dining table.
A Little Humor Break: Remember That One Time?
So there was that one time at my neighborhood potluck when I thought I’d try to be all Bougie Chef. I presented my homemade pasta salad, and guess what? Everyone dove into the Maple Donut Bars instead. 🤣 Now the neighborhood thinks I’m just the local Maple Baroness. (But hey, who am I to disagree?)
Frequently Asked Questions: Life’s Burnt Snack Moments
Sure, but just remember—substituting is like dating; it can totally change the game, and may not always work out as you hoped!
Then call up the maple gods and plead your case—seriously, get real maple. Otherwise, you might as well be pouring sugar into your palms. Ouch!
Absolutely! Just swap in a good gluten-free flour blend and cross your fingers!
In an airtight container unless you want squirrels breaking into your pantry (and trust me, they will!).
Why yes! Get adventurous, my friend! Just remember the rule of ratios: a little chaos is delightful, too much can lead to tears!
Okay, I’ll stop rambling now. Just trust me—these Maple Donut Bars will dance into your heart and take you on a sweet ride. Feel free to reach for that extra square while no one’s watching—it’s basically a self-care moment! Happy baking, friends!
Daily Calorie Needs Calculator:
Curious about how these delectable bars fit into your day? Here’s a handy calculator for that!
Maple Donut Bars
Ingredients
Method
- Preheat the oven to 350°F (175°C) and grease a 9x13 inch pan.
- In a large bowl, mix together the flour, granulated sugar, brown sugar, baking powder, salt, cinnamon, and nutmeg.
- In another bowl, whisk together the melted butter, milk, maple syrup, eggs, and vanilla extract.
- Pour the wet ingredients into the dry ingredients and stir until just combined.
- Pour the mixture into the prepared pan and spread evenly.
- Bake for 25-30 minutes or until a toothpick inserted into the center comes out clean.
- Allow to cool for 10 minutes and then transfer to a wire rack to cool completely.
- Mix the powdered sugar with 2-3 tablespoons of milk until smooth.
- Drizzle the icing over the cooled bars and cut into squares.