Irresistibly Soft Vanilla Bars Recipe Everyone Will Love

While we have provided a jump to recipe button, please note that if you scroll straight to the recipe card, you may miss helpful details about ingredients, step-by-step tips, answers to common questions and a lot more informations that can help your recipe turn out even better.
My most unhinged baking opinion: vanilla is not “plain.” Vanilla is a whole personality. Vanilla is the friend who shows up on time, remembers everyone’s birthday, and still somehow gets called “basic” while chocolate is over there burning in the oven and getting all the attention. These Vanilla Bars? They are my personal campaign to clear vanilla’s name. They’re soft, chewy, unapologetically simple, and they vanish faster than my willpower in front of the seasonal aisle at Trader Joe’s.
Also, I fully believe every family dessert table needs That One Reliable Bar Dessert. These are it. No crumble topping drama. No water baths. Just butter, sugar, vanilla, done. Standing ovation energy.
When vanilla bars nearly ruined Thanksgiving day
There was one Thanksgiving when my entire extended family learned what happens when you let me “freestyle” dessert. Picture this: I decided regular pumpkin pie was “too expected” (I know, I’m the problem) and tried to make this triple-layer pumpkin cheesecake thing with a ginger crust that required a water bath, foil wrapping, and apparently a degree in structural engineering.
The oven smoked. The water bath leaked. The crust somehow half-burned and half-turned to mush. My uncle opened the oven and literally said, “Is it… supposed to look like that?” Meanwhile, the fire alarm went off, my cousins opened every window, and my mom wordlessly slid a tray of store-bought cookies onto the counter as backup. Savage but correct.
The next year, my aunt very gently suggested, “Maybe something more… straightforward? Bars, maybe?” That was the year I retreated to the comforting arms of butter, sugar, flour, and vanilla. No swirls. No marbling. Just dependable, golden, soft Vanilla Bars that actually baked all the way through and did not trigger the smoke detector. Healing.
So anyway, back to the bars before I cry into the batter
After the Great Cheesecake Collapse, I realized I needed a dessert that could:
- Be mixed in one bowl while the dog is barking, the kids are yelling, and someone is raging about the stuffing.
- Travel well to whatever chaotic gathering you’re driving to.
- Still taste good at room temp on the counter at 10 p.m. when your aunt is telling the same story again and you need emotional support sugar.
Enter these Vanilla Bars. They’re like a cross between a sugar cookie and a blondie. Soft center, lightly crisp edges, that buttery-vanilla smell that makes people walk into the kitchen and say, “What are you making?” in that hopeful voice. They also play well with others: berries, ice cream, a drizzle of chocolate, whatever. Think of them as the people-pleaser of your dessert lineup, like the bar version of those perfect chewy treats you see in retro bake sale recipes.
Gather these ingredients before the craving hits
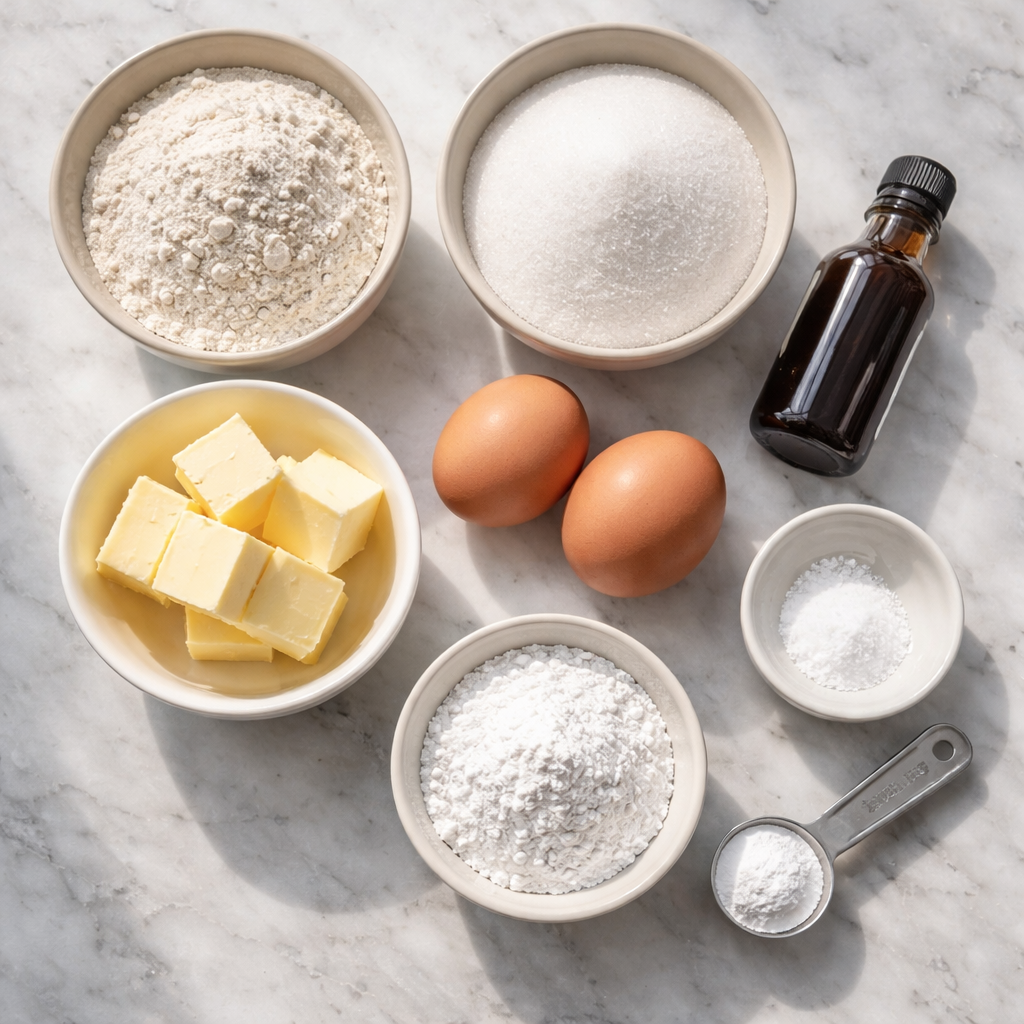
- 1 cup all-purpose flour
- 1 cup granulated sugar
- ½ cup unsalted butter, room temperature
- 2 large eggs
- 2 teaspoons pure vanilla extract
- 1 teaspoon baking powder
- ¼ teaspoon salt
- Powdered sugar, for dusting
A few opinions while we’re here:
- Use real vanilla extract. I know the big bottle of “vanilla flavoring” is cheaper, but the difference is wild. If you can swing it, grab a decent one (Aldi and Trader Joe’s both have sneaky-good options).
- Room-temp butter actually matters. Too cold and your batter sulks; too melted and your bars get weirdly greasy at the edges.
- Flour: nothing fancy. Just your basic all-purpose. Save the artisanal stone-milled bag for something that pretends to be healthy.
Cooking Unit Converter:
If your brain short-circuits converting cups to grams at 10 p.m., this little helper will do the math so your bars don’t suffer.
How to actually pull this off (step-by-step, no crying)
Preheat and prep the pan.
Preheat your oven to 350°F (175°C). Grease an 8×8-inch baking pan or line it with parchment so you can lift the bars out like the dramatic baking star you are. I’ve tried to skip the parchment “just this once” and ended up chipping bars out of the corners, so: don’t.Cream the butter and sugar like you mean it.
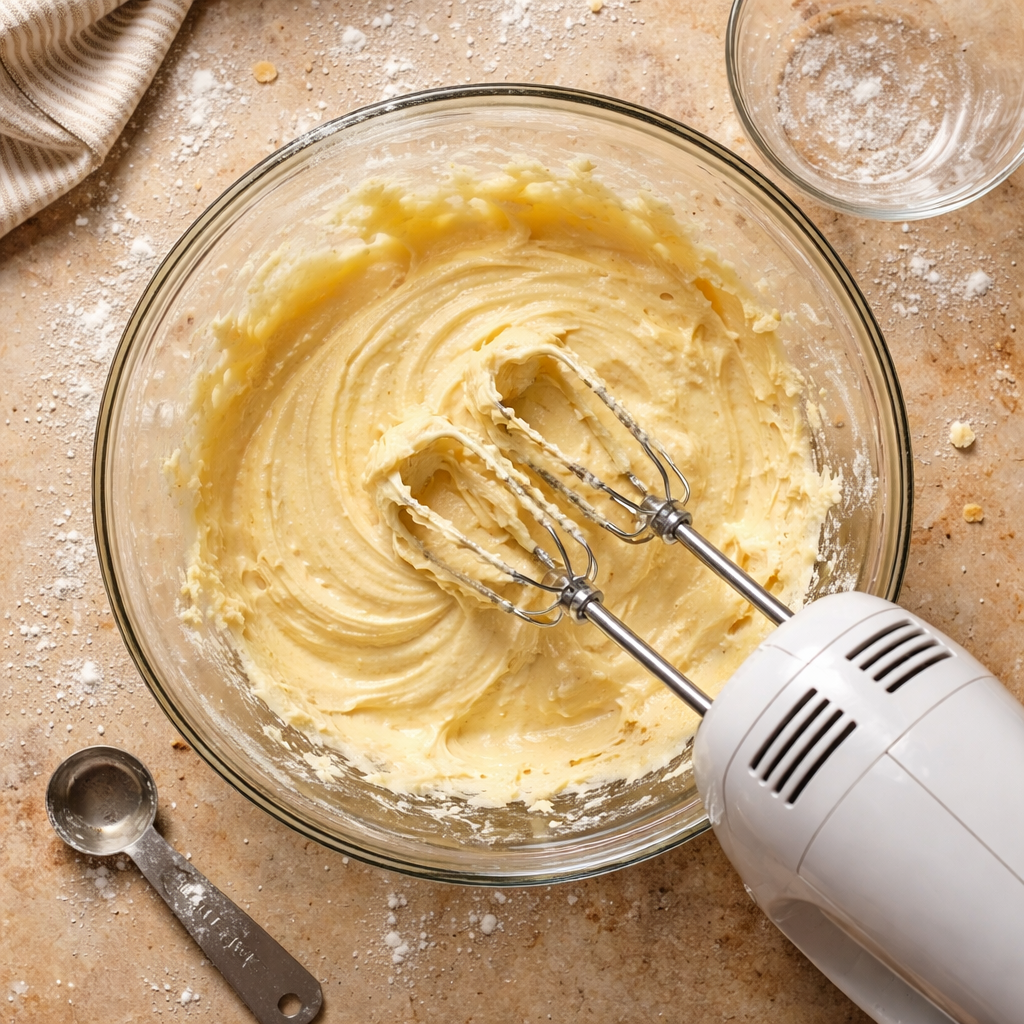
In a mixing bowl, beat together the softened butter and granulated sugar until light and fluffy, 3–5 minutes. This is not “stir until they’re acquainted.” This is “introduce them, let them bond, they become one.” The mixture should look pale and slightly whipped. This step is where you get that tender, soft crumb, so let the mixer do its thing while you wash one token dish and feel smug.Add the eggs and that glorious vanilla.
Beat in the eggs one at a time, letting each fully disappear before adding the next. Then add the vanilla extract and mix again. At this point it should smell like the inside of a bakery and a childhood birthday party had a baby. If you don’t pause to sniff the bowl, I’m suspicious.Whisk the dry ingredients separately.
In another bowl, whisk together the flour, baking powder, and salt. Do not skip whisking; it keeps the baking powder from clumping in one dramatic corner and giving you one mutant puffy bar while the rest are flat. Learned. That. The hard way.Combine, but gently.
Add the dry ingredients to the wet mixture in two additions, mixing on low or folding with a spatula until just combined. The batter will be thick, more like cookie dough than cake batter. Resist every urge to overmix it into oblivion; overmixing = tough bars = sadness.Spread and smooth.
Scrape the batter into your prepared pan. It will try to cling to the bowl because it knows it’s delicious. Use a spatula or the back of a spoon to press and smooth it into an even layer, nudging it into the corners. Uneven batter turns into uneven bars, and then someone complains that theirs is “too edge-y” and we can’t have that.Bake to golden perfection.
Bake for 25–30 minutes, until the top is golden and a toothpick inserted in the center comes out mostly clean (a few moist crumbs = perfect; wet batter = give it a few more minutes). Ovens are petty and inconsistent, so start peeking around 23 minutes.Cool, dust, and slice.
Let the bars cool in the pan on a wire rack. This is the worst part, I know. Once cool, dust generously with powdered sugar. Slice into squares—tiny ones for “just a bite,” larger ones for “I had a day.” If you want to go extra, serve with a scoop of vanilla ice cream like those sundae-style desserts you see next to fancy bar cookies on modern dessert menus.
Why a pan of vanilla bars can feel like home
Baking, for me, is half sugar and half therapy. There’s something about whisking flour, watching butter and sugar transform, and pulling a golden pan from the oven that quiets the static in my brain. These Vanilla Bars remind me of the kind of Midwest church-basement desserts I grew up with—simple, shareable, carried in slightly dented metal pans to potlucks and school events.
No one asked if they were “trendy.” They just grabbed one, powdered sugar on their sweater, and suddenly people were talking, laughing, staying an extra half hour. Food that invites you to stay is my favorite kind of food.
A tiny story about the time the bars saved the block party
Last summer our neighborhood block party “dessert person” forgot their big fancy layered cake at home, and there was a visible panic ripple through the folding chairs. I had a pan of these Vanilla Bars in my freezer (double batch, future-me bless you), so I sprinted home, microwaved them just enough to lose the chill, and dusted a frankly over-the-top amount of powdered sugar on top.
People acted like I had catered. One neighbor asked which bakery I used. I just smiled mysteriously and thought about how they came from the same basic batter you’d see in some “easy bar recipes” like the ones on homey family dessert collections. We do not gatekeep vanilla miracles in this house.
Frequently Asked Questions:
Yes, absolutely—you can double everything and bake in a 9×13, just add a few extra minutes to the bake time and start checking around 27–28 minutes so you don’t end up with vanilla bricks instead of bars.
You can; just reduce the added salt to a tiny pinch or skip it, and know that if your bars taste a little saltier than expected, that’s on the butter, not your soul.
They freeze beautifully—cool completely, slice, wrap tightly, and stash for up to 2 months; to serve, thaw at room temp or microwave a square for 10–15 seconds and pretend you just baked them.
Go wild—stir in up to 1 cup of chips, chopped nuts, or sprinkles; the texture will stay bar-like and the vanilla will still shine through like the mellow queen she is.
Most likely they overbaked a few minutes too long or your pan is darker (which runs hotter); next time check earlier and maybe line with parchment so the edges don’t get personally attacked by your oven.
The thing I love most about these Vanilla Bars is how low-drama they are. No collapsing centers, no complicated frosting, no twenty-ingredient shopping list that has you crying in the baking aisle. You cream, you mix, you bake, you dust. People rave. You pretend it was harder than it was.
And if the rest of your day is chaotic, at least there’s a pan of something golden and sweet on the counter saying, very gently, “Take a break. Have a square.” Honestly, that’s the kind of energy I want from dessert.
Daily Calorie Needs Calculator:
If you’re curious how these Vanilla Bars fit into your daily energy needs, use this simple calculator to estimate your overall calorie goals.
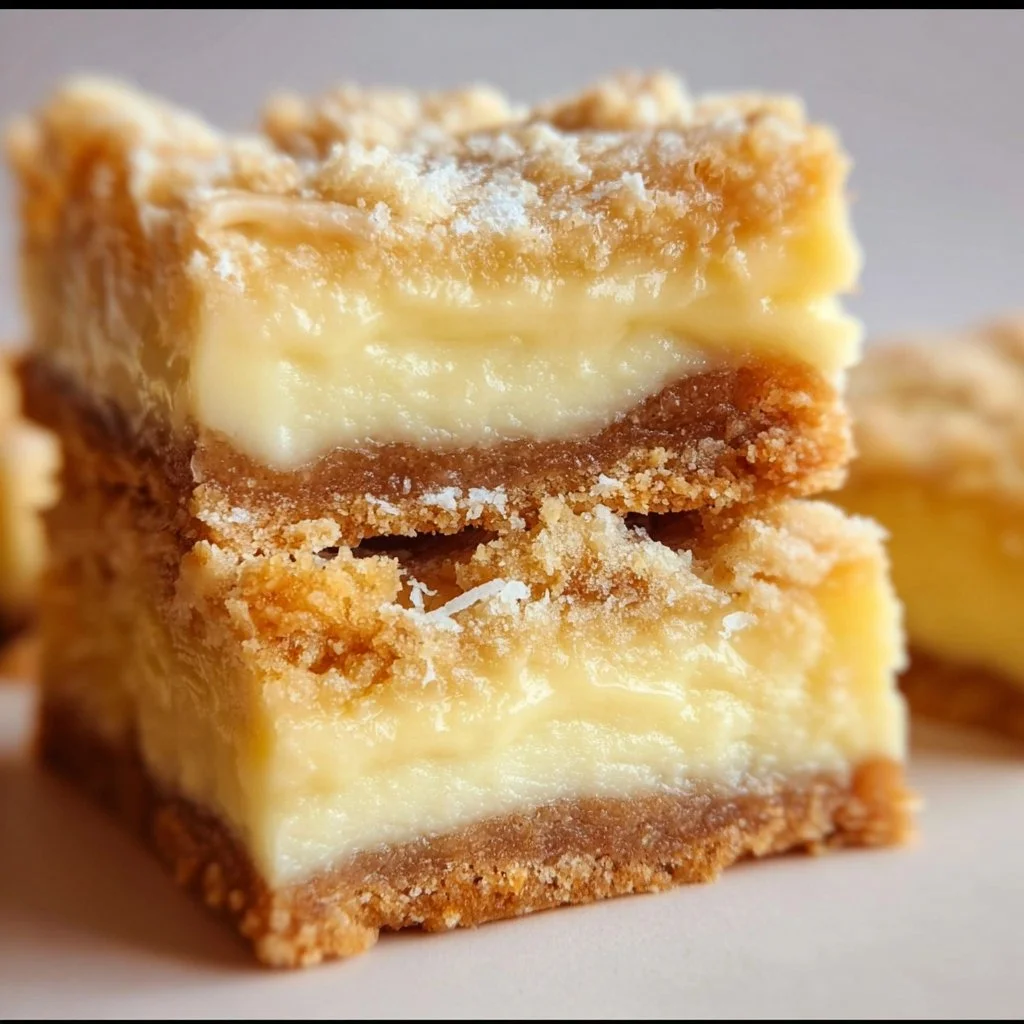
Vanilla Bars
Ingredients
Method
- Preheat your oven to 350°F (175°C). Grease an 8×8-inch baking pan or line it with parchment paper.
- In a mixing bowl, beat together the softened butter and granulated sugar until light and fluffy, about 3-5 minutes.
- Add the eggs one at a time, mixing until fully incorporated. Then add the vanilla extract.
- In another bowl, whisk together the flour, baking powder, and salt.
- Add the dry ingredients to the wet mixture in two changes, mixing on low or folding gently until just combined.
- Scrape the batter into your prepared pan and smooth the top with a spatula.
- Bake for 25–30 minutes, or until the top is golden and a toothpick inserted in the center comes out mostly clean.
- Let the bars cool in the pan on a wire rack. Once cooled, dust with powdered sugar and slice into squares.